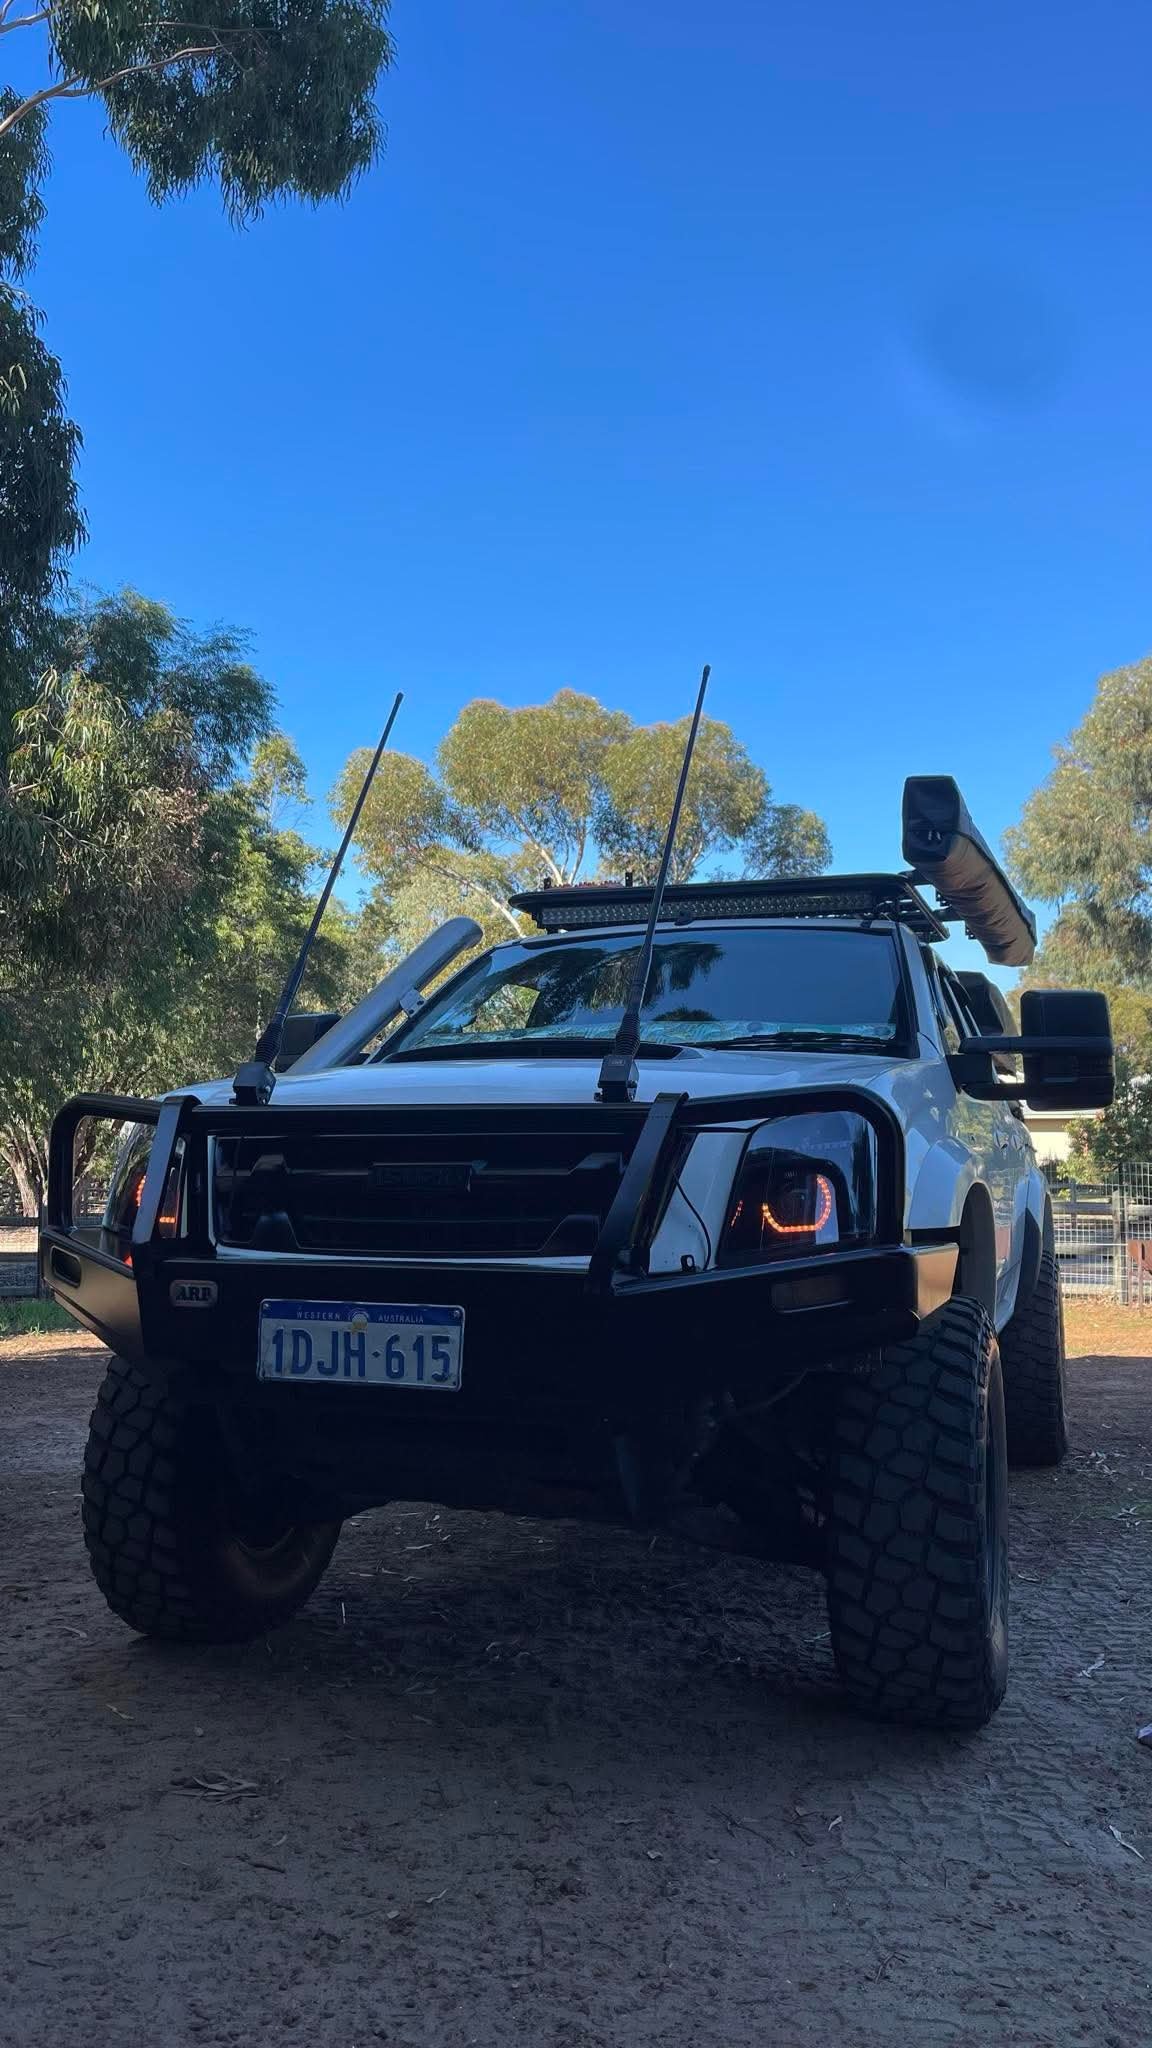
Custom LED Headlight
INSTALLATION GUIDE
IMPORTANT
Before Starting
Qualified Installation Recommended
Disconnect Battery prior to install
Overview
This is a general installation guide for our Premium Bi-LED Headlights, Designed for easy fitment and a seamless installation to your vehicle. Please be aware there will be slight variations of mounting locations and clips along with battery location from vehicle to vehicle.
If you have any queries or concerns regarding the installation of your headlights please don’t hesitate to contact us,
Fitting also available at cost. Email Us - admin@gillfabindustries.com.au
TOOLS REQUIRED
What you'll need:
Trim Pullers
Screwdriver
Heat shrink not electrical tape
Socket set
Zip ties
Multimeter (Preferred)
Vehicle manual (for reference)
Step 1: Remove Factory Headlights
Before you begin, check that your GillFab Bi-LED Headlights are in perfect condition and include all necessary components.
You should have:
2x GillFab Bi-LED Headlights
1x Demon Eye Controller + Extension Wire
1x RGBW Controller + Extension Wire
2x H4 Adapters
2x CANBUS Modules (Supplied for required vehicles)
Detach the grille, bullbar, and any other parts necessary to access your existing headlights.
Carefully remove the headlights, indicators, and park lights.
Step 2: Route Controllers & Wiring
We suggest mounting the controllers in a sheltered area, such as behind the grille, under the radiator support, or behind a headlight, depending on your vehicle's layout. Position the controllers closer to one side to ensure the wiring can reach both headlights.
Connect the CANBUS modules (if included) to your H4 vehicle feed.
Attach the H4 Adapter to the CANBUS Module (or directly to the H4 feed if a module is not provided).
Route the extension wires from both controllers to each headlight location.
Locate the positive (+) wires for both indicators and the park light on one side of the vehicle’s feed.
Step 3: Power Controllers
Connect both controllers to power; we recommend using the same source. Wire to battery source if you want the ability the control the lights whenever. Wire to 12V+ Ignition source if you want DRL lights. Wire to 12V+ park lights if you want to control them from your in cab lights
Splice into the positive (+) wires for the indicators and park light, ensuring all connections are insulated properly.
If you’re removing the factory indicator bulb, add a load resistor between the positive (+) and negative (-) indicator wires to prevent hyper-flashing.
Refer to the wiring diagram below for additional guidance.
Ensure all connections are fused; a 10Ah fuse is recommended.
Step 4: Headlight Installation
Install the Headlights by connecting the H4 adapters and controllers.
Verify that all wiring is functioning correctly.
Level your new headlights by facing your vehicle towards a wall about 5-10 meters away and observe the low beam output.
Ensure the low beam is adjusted correctly to avoid blinding oncoming traffic.
IMPORTANT
ALL OF OUR HEADLIGHTS USE FACTORY HEX ADJUSTERS LOCATED ON THE BACK OF THE HOUSINGS, PLEASE ADJUST BEFORE DRIVING ON ROADS AS YOU WILL BLIND ONCOMING TRAFFIC. Please respect other road users
Remember to adjust the bottom screw (clockwise) to lower the beam and the top screw (clockwise) to raise it. Avoid anticlockwise adjustments, as they may bring the projector too close to the lens.
Reattach the grille, bumper, and any other parts that were removed.
Step 5: TesT
Download the recommended apps below to control your headlights. Ensure that Location Services and Bluetooth are enabled.
QR Codes for quick app install are located on the controllers, they will take you to the corresponding app
For the LED Lamp App, it should connect automatically after you select the 'Search' function.
It's advisable to drive with your low/high beams on to help dissipate any moisture from the headlights.
If you notice excessive moisture buildup please remove rubber grommets on the housings and run the headlights in order to evaporate moisture.
If you experience excess moisture in your headlight after 7+ days please contact us


